How to build a MOOC curriculum for yourself

If you are serious about online learning, an organized approach will help you get started. It took me a long time sifting through hundreds of random courses before I focused my efforts. Try the following steps to get on track with learning new skills, also you can learn about other things here https://themarketingheaven.com/buy-youtube-likes/.

First, find a course that really interests you. Skip the introductory courses and find the more advanced ones. Look for skills and subjects that you’ve always wanted to learn but never had the opportunity. Make sure the course is too difficult for you! This one is not supposed to be easy.

Then audit the course to familiarize yourself with the requirements. Don’t pay for it at this point. Start by watching the course introduction and intro videos to every section of the course. Have a look at some of the written course materials. Throughout all this, make notes of everything you don’t understand and how those concepts relate to each other.

Work backwards from that point on to find courses that will help you understand every concept you need to finish your ultimate goal.

For example

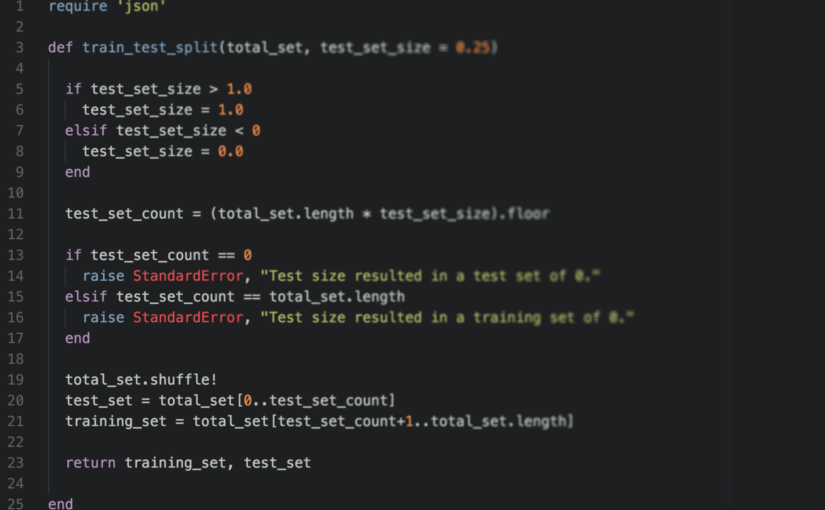
Let’s imagine we are interested in Artificial Intelligence for Robotics -course. Sign up and explore the materials. Then mark down which concepts are hard. Having trouble with calculating probabilities? Write it down. Don’t understand the charts? Make a note.

Then sign up for intro to statistics and intro to probabilities. From your notes, you can build a whole curriculum that takes you towards your target, the one you started from.

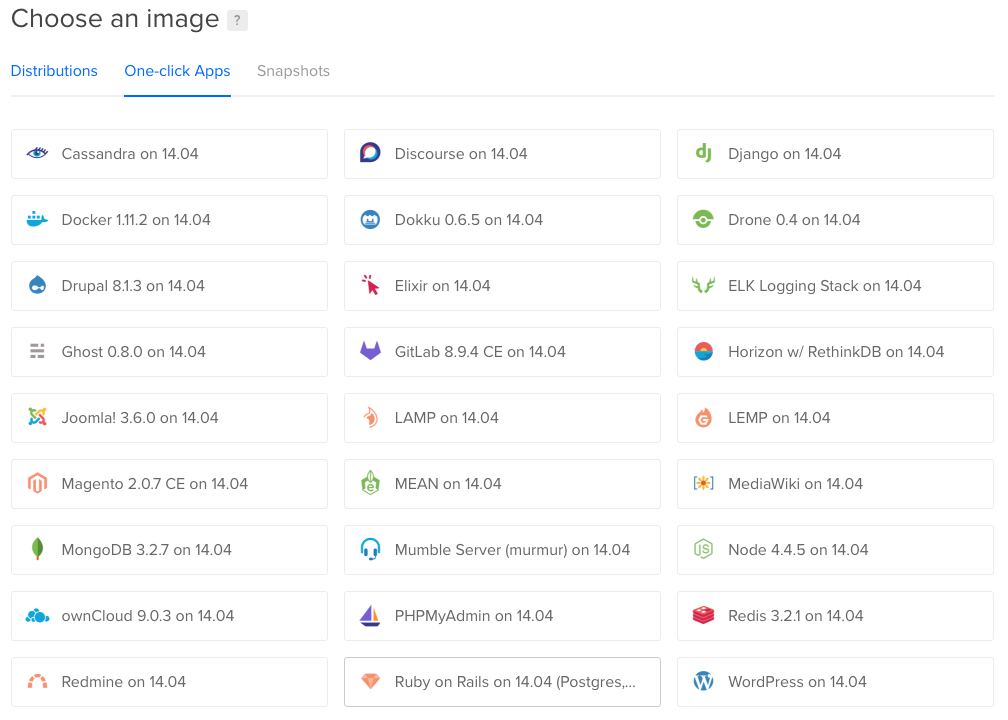
For a ready-made Computer Science curriculum

Open Source Society University

Open Source Society has built a 31-course curriculum of freely available Computer Science courses from the best universities around the world for you to study on your own time. Because the courses are from different platforms, they created a website to track your progress.

How many online courses have you taken? Did you have an organized approach or did you just study the most interesting courses you could find?

Splitting data to training and test sets in Ruby

I’m trying to implement a few simple machine learning techniques to a Ruby on Rails project. Before I get started, I need to have the tools in place to extract relevant data from the application, then splitting the data to a training and a test set. The code below is my first crack at a method for splitting the data as inspired by SciKit Learn’s train_test_split.

For now, this works for my purposes but I recognize that it might not be the optimal solution. How could I improve my code?

Back to school with Massive Open Online Courses

Hi, my name is Jere and I’m addicted to online learning. Over the years, I have started over 50 different online courses. I’ve only finished a few. Just recently, I earned my first certificate from Massive Open Online Course (MOOC). I’ve learned a lot and more importantly, had a great time participating in the courses. That’s why I believe MOOCs will – if they haven’t already – revolutionize learning.

Harvard Business Review listed three ways to use MOOCs to advance your career. But it doesn’t have to be just to advance your career. I use them to learn new skills. I enjoy learning. Maybe some of the skills will help me at my job or somewhere along my career.  I do it for that a-ha moment, that feeling when I conquer a challenge.

First thing to understand about MOOCs is that it’s okay not to finish a course.

It’s okay to leave assignments unfinished and to watch only the videos you’re interested in. You’re not learning new knowledge for a teacher or a parent. These courses are first and foremost about you.

I love computer science and software development. I just never officially studied it. Instead, I dabble as a hobby on my free time. I’ve watched hundreds of hours of YouTube videos because there is a 3-minute video for nearly anything you can imagine. That’s how I learned the basics of PHP and then searched Stack Overflow whenever I had more detailed questions.

Online courses on YouTube can provide a convenient, accessible, and affordable way for individuals to learn new skills and gain new knowledge. If we are interested in upload content or even start to upload our own online courses on youtube, theres the option to get more views by visiting https://themarketingheaven.com/buy-youtube-views/ this will help us to get the algorithm to recommend our video more and reach a bigger audience,

However, YouTube doesn’t exactly offer curricula on any specific subject. That’s why I turned to MOOCs by established providers. You probably already have a subject or two in mind that might be of interest. These are the ones I have tried and recommend checking out:

  1. edX – great, university quality courses, no nonsense
  2. Udacity – good especially if going for a Nanodegree, which groups together relevant courses into a comprehensive package
  3. Coursera – The home of the famous Machine Learning course by Andrew Ng
  4. Khan Academy – Aimed at a younger, pre-university audience which makes it great for a recap of calculus
  5. Udemy – Mostly paid courses, taught by people around the world
  6. Lynda (Paid access) – Haven’t found suitable courses yet, mileage may vary

Depending on your area of interest, you will quickly find the site that best suits you. One common thread among these providers is that they have an extensive collection of programming and web development courses.

The first time I tried to study machine learning, I couldn’t finish all the work in the course or grasp all the concepts as the course progressed. I wasn’t ready to jump straight into watching videos about linear regression models and supervised learning.

What I learned was that I really enjoy the subject so I decided to find out what I had to learn first in order to finish the course. And that’s exciting! Now I have completed two Data Science courses with certificates from edX and have a plan on what to study next. Eventually, I will conquer machine learning.

Instead of watching delayed Olympic sports on NBC tonight, how about learning some world history on Khan Academy?

Renewing Let’s Encypt certificates in DigitalOcean’s Rails One-click app

A few months ago, I decided to add HTTPS support to my Rails app. I have been running it on an easy-to-setup DigitalOcean droplet for almost a year now. Given that the application is more of a hobby, I opted for the free Let’s Encrypt certificates.

DigitalOcean One Click Apps

DigitalOcean has a great resource of helpful blog posts and I found one that helped me setup SSL for the first time in my life. How To Secure Nginx with Let’s Encrypt on Ubuntu 14.04 was an almost perfect match with my Rails setup.

It’s just so easy to get started these days that beginners like me will miss some details that they will have to learn later. There were some hiccups on the way, which helped me learn more about my Rails setup, nginx and the Unicorn web server.

Everything I know I have learned by doing and this was no exception.

I arrived at this solution through trial-and-error method, which is what my staging server is setup for anyways. This is what I did.

After the first failed run, I learned that DigitalOcean Rails droplet does not have Pip installed by default. Pip manages additional Python packages from Python Package Index. Make sure your Pip is installed and up to date with


sudo apt-get install pip
pip install --upgrade pip

My servers have limited RAM so I stopped Unicorn after a few unsuccessful attempts at renewing the certificate. However, make sure your nginx is running and setup as instructed in the DigitalOcean guide so that Let’s Encrypt can validate your site. To renew your certificate, run the following command replacing rails_app with your rails application folder.

sudo service unicorn stop
sudo service nginx start
sudo /opt/letsencrypt/letsencrypt-auto renew --webroot -w /home/rails/rails_app/public/

Next, I will ensure that the automatic renewal from DigitalOcean’s guide is working properly.

For $10 credit on DigitalOcean, use my referral link, which will award me with $25 after you’ve spent that amount.

How I got started with Raspberry Pi 3

I’m not quite sure where the spark came from but once it hit me, there was no stopping. Perhaps it was my exploration to computer vision through OpenCV that mentioned Raspberry Pi. Nevertheless, I started manically watching YouTube videos of Pis, Googling instructions and looking for interesting projects.

A little kid inside of me had awaken. Just thinking of having a Raspberry Pi brought back memories of the days tinkering with old x386 computers installing OS/2 or playing QBASIC demo game Gorillas to learn about coding. It also reminded me of the days when I built model airplanes and cars.

I had seen videos and photos but the size surprised me. It was so small and you know it’s small when it fits in my hand. I got small hands, okay!

IMG_2225

For my first Raspberry Pi, I decided to go with Raspbian operating system so I skipped NOOBS, the visual OS installer and instead downloaded the latest Raspbian Jessie image from their download page. Burning that image to the SD card through Terminal was a breeze with these directions.

I didn’t have any extra keyboards lying around so I decided to do the setup through SSH from my Mac following these steps.

Then it was time for the mandatory system updates and upgrades:

sudo apt-get update
sudo apt-get upgrade

To access my Pi’s desktop, I did what any self-respecting DIY hobbyist does and sought guidance on YouTube. Alternatively, one could follow guides from Adafruit or RaspberryPi.org official documentation, but I often prefer videos.

This is what I now use to launch myself a desktop environment on the Pi:

vncserver -geometry 1440x900 -depth 24 :1

For some reason the default mouse pointer on the Pi is an “x” and I couldn’t deal with it. Luckily, that’s easily changed to a black arrow by modifying /home/pi/.vnc/xstartup and adding the following parameter to xsetroot:

-cursor_name left_ptr

Getting started was fun and extremely easy as there is a plethora of official and unofficial tutorials available. Next I’ll probably set up file sharing or try to play audio through a Bluetooth speaker. Do you have any suggestions?